When you buy through links on our site, we may earn an affiliate commission, Read More.
An RV is just like a home to any travel trailer owner. As time goes by it’s only natural that things will break of aging. RV Toilet is no exception to this. In fact, your knowledge regarding how to replace an RV toilet will be put to the test when such a need arises.
If this is something you have never done before, honestly it’s not that hard to do. I’ve spent hours on research and put together an easy three-step guide for you. Yes, I’m about to share how to remove an RV toilet and replace it with a new one in this article.
So, without delay, let’s get started!
Required Tools for RV Toilet Replacement
In most cases, travel trailer toilet replacement doesn’t require any special tools. What you have in your general toolbox will do just fine. Such as:
You will also be happy to know that some brands provide their RV toilet installation tool kit for convenience.
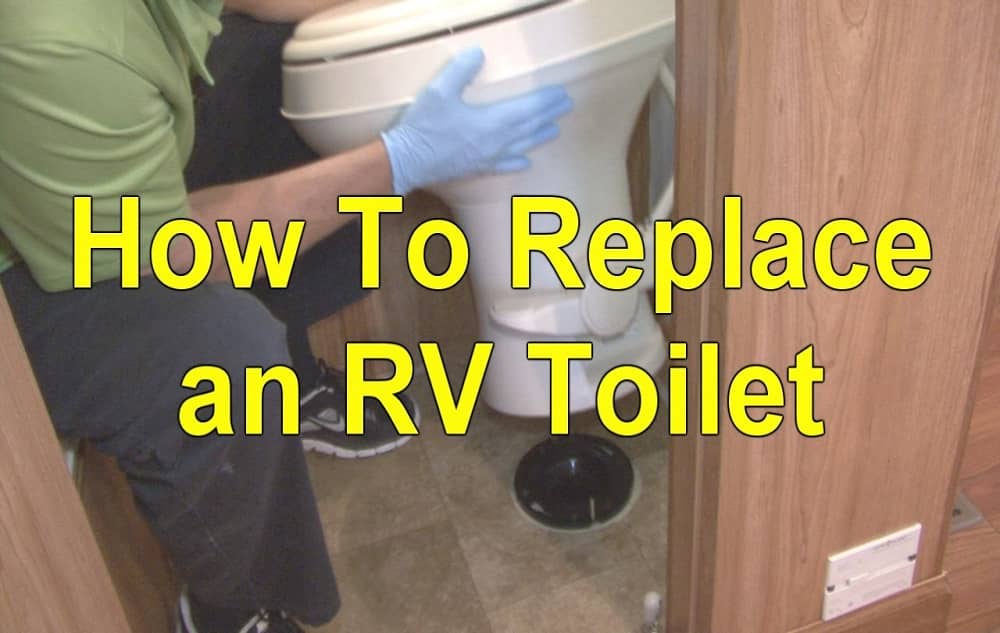
How To Replace RV Toilet - Step by Step Guide
It’s understandable to feel a bit of hesitation about replacing the toilet by yourself. Think of it as a learning curve. Even if you have the skill to do that for you, learning these steps will improve your understanding of RV toilet repair. That said, I’ve tried to keep this guide informative and easily digestible for you.
1. Preparing the Old Toilet for Removal
Before you remove your old toilet you need to prepare. First, you need to park your travel trailer on a flat surface and make sure it doesn’t move while you operate an old toilet.
Turn off the water pump and flush your toilet thoroughly. You must flush several times to wash down any stubborn particles clinging to the bowl. Once you feel it’s enough, keep the toilet flap open for a few seconds so the RV toilet will not hold water.
Now it’s a good time to decouple the water line from the flush tank. Before you do that, don’t forget to empty your flash tank that way you won’t spill water on the floor.
Even though you are sure you have drained all the water, there will be water spills. So place a few old towels around your old toilet. It will make post-cleaning much easier.
Emptying your waste tank is optional but it helps in preventing bad odors from coming out of the tank. If that’s not possible, you can always jam a rag in the waste tank pipe to stop the odor from leaking.
2. Removing Old RV Toilet
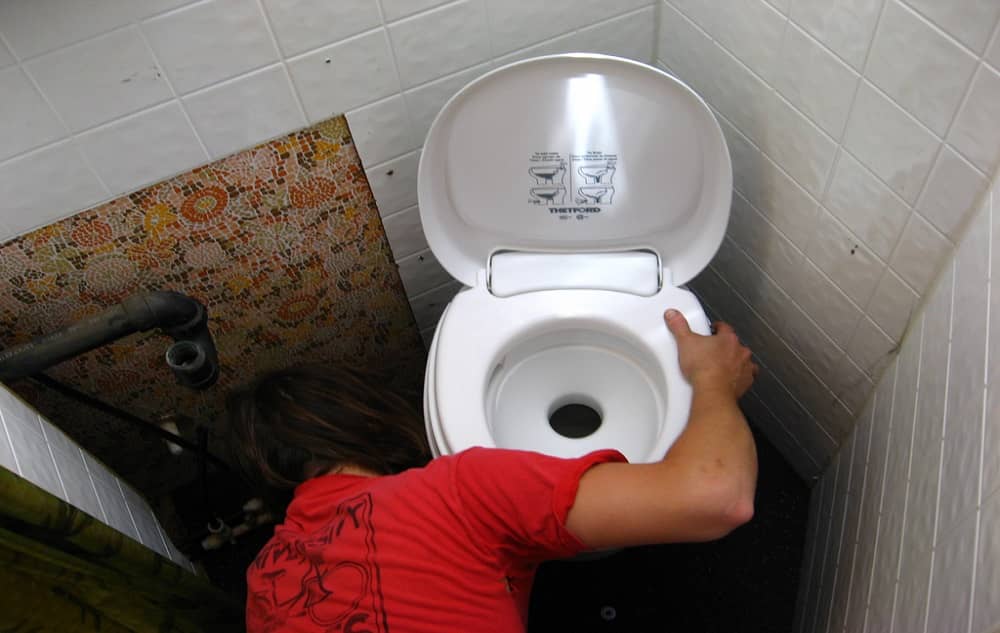
So far you have completed the necessary preparation. Your next step will be removing the old toilet from its position carefully. Grab yourself a pair of gloves and your trusty toolbox that has the above-mentioned tools.
Look closely at the base of the toilet. You should see two plastic caps on the sides which will grant access to the closet bolts. Pull those plastic caps to expose the nuts. If your toilet is there for a long time you might have to use force.
After exposing the nuts use the correct wrench to unscrew the bolts. Use lubricants, contact cleaner, or WD40 if you have a hard time unscrewing those bolts. Let those lubricants sit for a few minutes and try again.
Next, it’s time to remove the toilet from the place. Before you do that, check once again if you have missed any water line to disconnect. After that slowly lift the old toilet and put it in a large garbage bag or on an old towel whichever works for you.
If you face a problem lifting the toilet, wiggle a bit until it comes loose. For the old toilet, you need to dispose of it properly. There are specific waste management companies that will do that for you.
3. Installing New RV Toilets
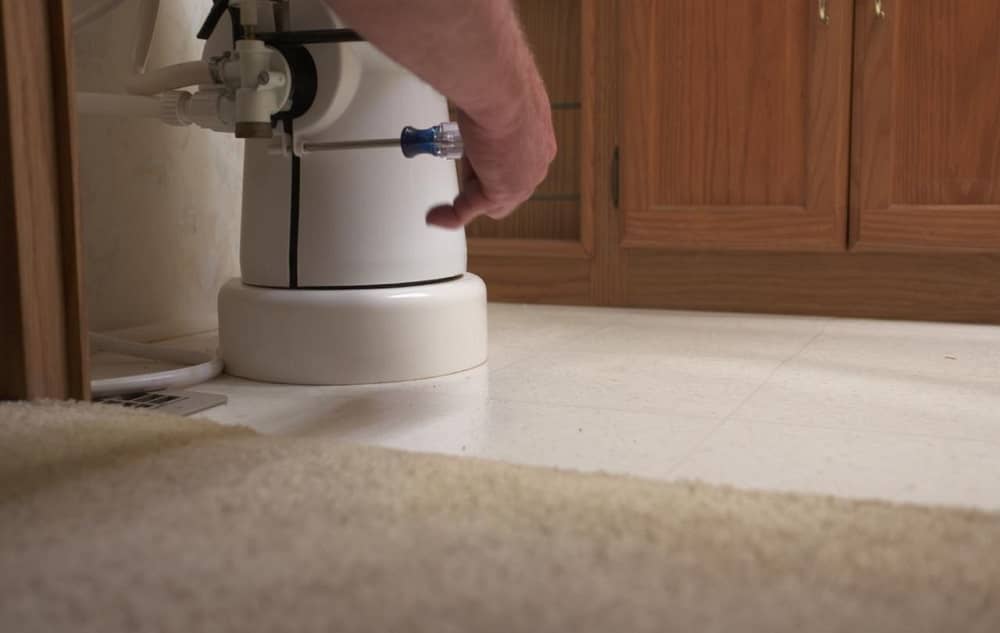
By now you have successfully removed the old toilet and are ready to install a new one in its place. Look inside the package you should have all the necessary bolts. There will be at least two long closet bolts and nuts.
Once you have those closet bolts, place them into the Flange lining with the bolt hole in your toilet base. Depending on the types of RV toilets, closet bolt placement can be different but it will always be upside down so you can tighten the nuts from the top side.
Your RV toilet manufacturer should have provided you with a wax seal to make the toilet and flange contact solid. If that’s not the case, you have to get an RV toilet seal replacement from the store.
Now carefully place your new toilet base on the flange. You should have two exposed bolts on the side. Place your nuts and tighten them evenly. If the bolt pokes out a bit don’t worry you will cut off excess length with a hacksaw.
Place the plastic cover on the nuts and connect all the water connections to the new RV toilets. Try flushing a few times to check if there is any leak. If you find no leak you are ready to use your RV toilet.
That’s how you remove a Thetford toilet from a motorhome and it’s also true for other RV toilet manufacturers like Dometic or Camco.
What Is RV Toilet Flange and How It Works?

RV Toilet Flange is a ring looking part that connects your RV toilet and waste tank pipe together. The ring sits between the waste tank pipe securely often with a rubber seal. Then again your RV toilet also has a firm connection with the flange through bolts.
Most RV toilet issues come from a loose or bad flange. Fixing a leaking RV toilet, bad smell problem, and loose fittings can be resolved by replacing the flange. Like replacing an RV toilet, flange replacement is fairly easy.
How to Choose a New RV Toilet?
If your old RV toilet steering ups a lot of problems, it’s time to get a new one. But which one should you choose this time? There are dozens of brands and types out there like a vacuum, portable, full size, and so on.
Here are some factors to choose the right RV toilet next time you shop.
1. Space Requirement
Know your space requirement for the RV toilet. Many RV owners make this mistake too often. They purchase a unit and later find that it doesn’t fit the space. If you don’t want to make the same mistake, pay attention to the measurement.
Write down the exact space you have in height, length, and width. You should also measure the space between walls and flanges so it fits perfectly. When choosing a new toilet carefully read the spec sheet and see if it matches your measurement.
2. Selecting a brand
It’s no brainer to say that a good brand goes a long way. Brands that have been around for long understand their customers far better than a new brand. Plus brand reputation also reflects product quality and good customer support.
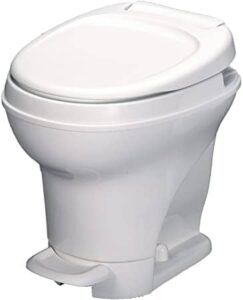
Brands like Dometic, Thetford, and Camco are some great brands offering tried and tested products for RV owners. So make sure to check these brands before going for other online brands.
3. Considering Features
In this day and age RV toilets come with a lot of technological advancement or features. Some RV toilets do not hold water and some require less water. It means the flush system works differently from conventional gravity flush.
Some expensive RV toilets also come with electric features. So take your pick that has the most features you want. But remember it will cost you so don’t forget about the price.
4. Build Materials
Although most RV toilet build materials are plastic, you can still find ceramic or marble toilets if money is no issue to you. If you are opting for plastic know that there are good and bad plastics on the market.
Pro Tips for Maintaining Your RV Toilet
Just like your house toilets maintaining RV toilets makes a huge difference. No matter if you bought a new toilet or tried to prolong the life of the existing one, you need solid maintenance.
Hope these pro tips will help you level up your maintenance game.
1. Use RV friendly toilet paper
Yes! There is special toilet paper for use in RVs. The main specialty of these toilet paper is that they break down easily and do not make any clumps. You will have a few clogging issues and tank cleaning becomes much easier.
Do not go for products that have a flashy marketing campaign. You just want the plain RV friendly toilet paper.
2. Keep the toilet bowl clean
This is like your daily chore. Keeping the bowl clean prevents any bad odor issue. On top of that, it looks more hygienic in the process.
Use a cleaning solution and a brush to clean off any stain or particles.
3. Treat your tank
Treating tanks means adding additives to the tank to help the breakdown process. It also aids in reducing any funky odor. Usually, you will find these additives in liquid form along with a drop-in solution.
4. Clean tank sensor
The waste tank sensor reveals vital insights into the black tank. If you suspect your tank sensor giving you false readings, there is a chance it’s gone bad.
5. Schedule tank cleaning
Know when you should dump your waste. Keep a tight schedule and maintain it as closely as possible.
6. Never leave any repair pending
It’s very important to never leave any pending RV toilet repair. Whether it’s a small water leak or a loose screw, you should immediately attend to the issue. If you can’t find the specific culprit consult a professional for expert help.
RV Toilet Repairing FAQs
1. How to know when to replace an RV Toilet Flange?
As flange links black tank pipe with RV toilet, a bad flange will show the following symptom
- Water leaking at the base of the toilet.
- Bad odor originating from the base of the toilet.
- Loose fittings or unusual shaking while using
These are some common issues you will see in a broken flange. If this is true you will need to change the toilet flange quickly.
2. How to tell if you’re choosing the right Toilet Flange size ?
One way to determine the right size toilet flange is to measure your pipe diameter on the floor. Measure it from the center to the center. In most cases, it’s 4 inches unless it says otherwise. It’s also a good idea to measure height as well and if you will need an extension.
3. What to do when the RV Toilet Flange gets stuck?
It’s common to have flanges that have been screwed down, glued, and cemented. If you ever get stuck with any of these, use the following instructions:
- Try contact cleaner and turn counter-clockwise for the screwed down flange.
- Use a sharp chisel to break the glue-seal until it detaches.
- For cemented flange, break the portion carefully with a chisel until it releases.
Those are a few common ways to tackle a stuck flange. If you can’t break free from the bond there is a chance you could damage the pipe. So, be careful.
4. Where can you buy a new RV toilet flange?
If you need a new RV toilet flange, you can either go to a local RV shop or buy it from Amazon. RV flanges are not that hard to find but always keep in mind to buy the proper one in regards to the size.
5. When should I replace an RV toilet instead of repairing it?
There could be a few reasons for instead of repairing you should replace the whole RV toilet. Here are some-
- Cracked bowl
- Oversized toilet base
- Damaged elbow pipe
- A leak in the flange fittings
If this is the case you should consider replacing the unit instead of repairing.
6. How do you clean an RV toilet bowl?
Vinegar is a pretty common cleaning agent when it comes to RV toilet cleaning. It’s mainly because vinegar is the most common substance in the household or any local store. Dilute the vinegar in water and scrub the bowl with a brush.
You can also use any toilet cleaner. In that case, leave your cleaning solution for a couple of minutes and then scrub and flush.
7. Can I put bleach in my RV toilet?
As long as you mix it with water it’s safe to use. For example, use only ¼ cup of bleach to mix in with 1 gallon of water. Use this cleaning solution for regular cleaning. You can also put this solution into a sprayer bottle and use it more conveniently.
8. Can I use vinegar to clean my RV toilet?
Yes! You can. It’s the most eco-friendly DIY cleaning solution. It’s also cheaper than most cleaning solutions on the market. Not to mention it has no adverse effect and doesn’t react in the black tank to produce any funky smell.
9. Are RV Toilet Flanges Glued?
Some types of toilet flanges are glued to the pipe. This is mostly to ensure no leaks in the future. Glue has a pretty effective tolerance against water and does not come off that easily. For this reason, glued flanges are one of the popular flanges in the market.
10. How to unclog the RV toilet?
RV Toilet clogging is a big nuisance when it happens at an unexpected moment. But there are several ways to unclog your toilet easily.
Drain Blaster: Apart from the regular plunger and auger you will find devices that use high air pressure to unclog any plumbing issue. Place the device into your toilet end and pull the trigger. In a matter of seconds, your toilet will be clog-free. It’s that easy.
Hot water: Another popular way to unclog your toilets is to pour a gallon of boiling water and leave it overnight. Hot water will soften the clog and clear out in the next flush.
Ice Cube: Fill the bowl with ice cubes and flush until all cubes wash down in the waste tank.
Chemical solution: you will also find some special chemical solutions for unclogging RV toilets. Follow instructions on how to put a chemical solution in the bowl and when to flush it. It varies depending on the product.
11. How does a camper toilet work?
In most instances, a camper toilet works just like a home toilet, but the use of water is very limited. As the camper tank reserve tank has limited water capacity it will utilize a few liters of water every time you press the flush pedal.
Final Verdict
I hope, by now you’ve understood how to replace an RV toilet on the first attempt. In addition to that, I believe the buying guide and maintenance tips will benefit you for years to come. So are you confident about the next toilet replacement?