When you buy through links on our site, we may earn an affiliate commission, Read More.
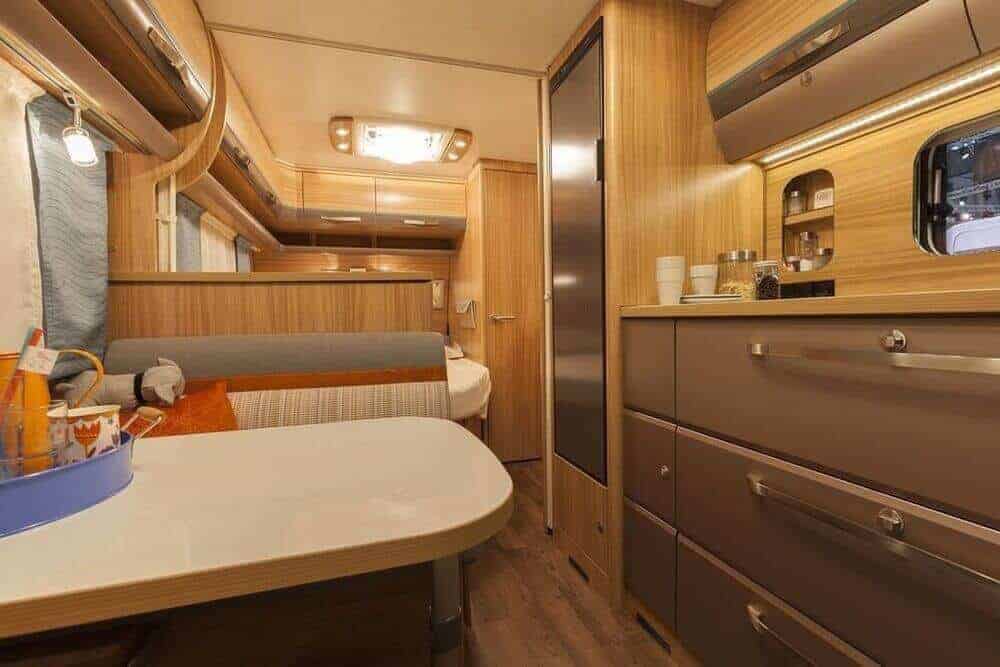
After a long day, there’s nothing more annoying than to see your rv ceiling lights not working. Needless to say, being at your RV and chilling under a soothing light fixture is relaxing. Most thus opt for RV ceiling lights. But sometimes they stop working and we start to worry.
To set your mind at peace, today I’m going to share all my knowledge regarding why this problem occurs and what you can possibly do about it. So, if you are interested, stay with me and read till the end.
What To Do When Rv Lights Stop Working?
Imagine you getting home and seeing that some RV interior lights are not working. It must be frustrating for you! That’s why you should always be prepared beforehand and keep some handy tools to be ready to fix those common RV electrical problems.
If you have RV 12-volt lights in your quarters, a common problem that you may face is RV low voltage problems. So, be it the conventional RV running lights or the caravan interior lights, having some tools in hand will just lessen your trouble.
Now let’s see a list of useful tools that you might need to fix your RV ceiling lights.
- Standard Pliers: WORKPRO 7-piece Pliers Set
- Socket Wrenches: DEWALT Drive Socket Set
- Wire Cutters: DOWELL 10-22 AWG Wire Stripper Cutter
- Screwdrivers: CREMAX Magnetic Screwdriver Set
- Claw Hammers: IRWIN Hammer
- Small Drill Set: Amoolo Cobalt Drill Bit Set
- Hobby Knife & Pocket Knife: Old Timer 24OT Splinter Folding Knife
Standard Pliers
You need those pliers to hold the nuts while you install the items or squeeze and remove them. These hand tools are very handful of your RV ceiling light fixing.
Socket Wrenches
Sometimes the RV lights may stop working just because the screws aren’t secured properly. So, you need to have a set of socket wrenches to tighten or loosen those screws.
Wire Cutters
The wire cutters can cut through copper or iron or other metallic wires. You may sometimes need to cut the cord to make your RV lights work. So, keep a wire cutter at hand.
Screwdrivers
There are lots of things in your room that need the help of a screwdriver to be fixed. So, have a mix of large, medium, and small-sized screwdriver to twist, install, or to remove screws and also for prying some items apart.
Claw Hammers
This sturdy hammer will let you straighten any items that got bent or bend the pieces that got reformed. You can drive skates or nails and pull them out from the part too.
Small Drill Set
The size of the drill set may range from 1/16” to 1/4”. You should get the one that works with both wood and metal substances.
Hobby Knife & Pocket Knife
Hobby knives come with extra blades that are incredibly sharp to cut precisely and a blade protector promotes your safety. You can cut vinyl, wood, paper, and any other type of plastics. A pocket knife also comes handy to cut ropes and twines. So, better keep them both in your collection.
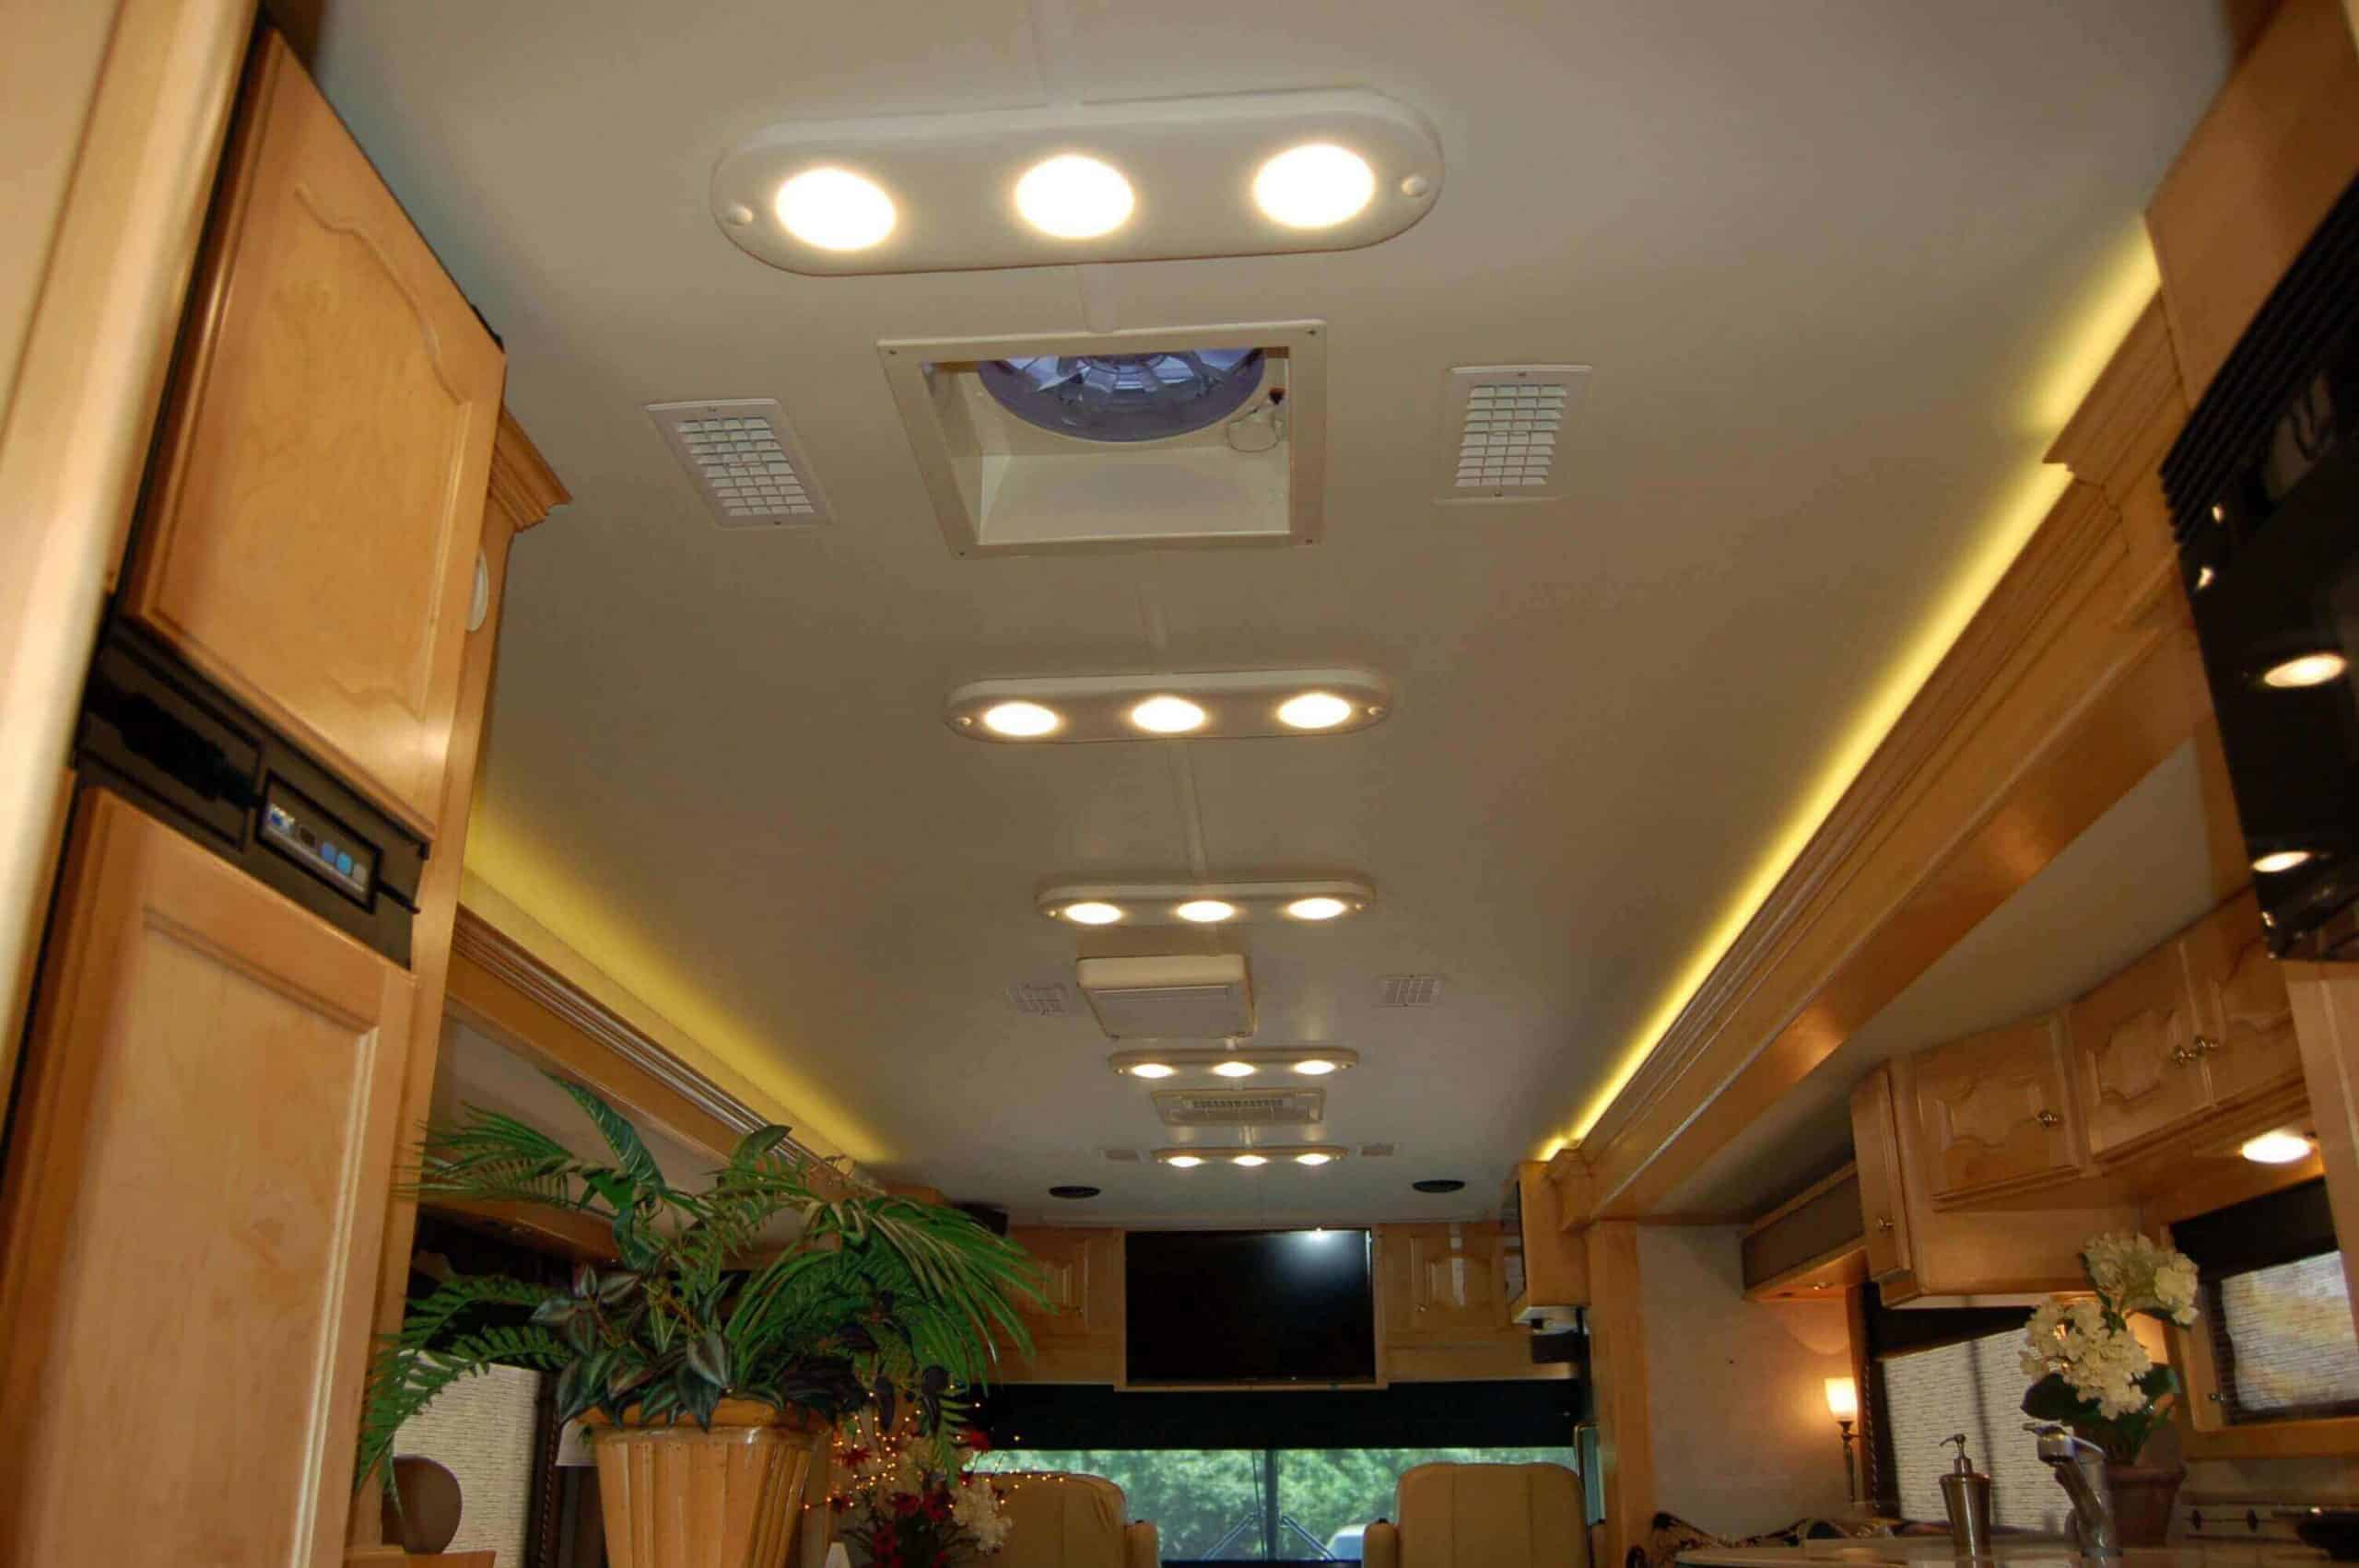
Rv Ceiling Lights Not Working: Possible Causes & Solutions
There could be several reasons behind your RV running lights not working issues. The first and foremost reason could be the RV lights going out of date. In that case, you just need to replace it with a new one. Other causes could be- faulty light ballast, terrible wiring condition, tripped GFI, and so on.
In the next sections, I will talk about these common RV light problems and will suggest their best possible solutions. You’d like to read on to have the perfect RV lights.
- What to do when RV lights suddenly stop working?
- How to fix a faulty Fixture?
- How to replace terrible shaped wiring?
- How to replace a damaged on/off switch?
- What to do with a faulty light ballast?
- What’s the best way to fix a circuit breaker?
- How to fix if a GFI is tripped?
1. RV Lights Suddenly Stop Working
Suppose you are going on a trip and suddenly discovered that some RV clearance light or the LED awning light is not working right.
Solution
For getting into the work first, you need to go through RV electrical system troubleshooting. As mentioned before, keeping useful hand tools with you helps you with the problem.
The CARTMAN Toolbox comes with a set of 39 essential tool kits collection to get the RV light fixed quickly. This precise toolbox is portable and contains all the basic tools to fix general repairs, maintenance, or plumbing issues around your RV with ease.
2. Faulty Light Fixture
After troubleshooting, you might find that the light fixture that you are using is what is causing the problem. It may happen due to overuse or other close reasons.
Solution
You need to make the decision depending on the RV model. If the RV light comes with a battery, replace the battery to see if it works. If not, you need to replace the light fixture you are using. There are a lot of good RV lights that you can replace with.
Kohree Led RV Ceiling Dome Light is an amazing one that you can purchase to add great functionality to your travel trailer or RV. It is a powerful, 12-volt easy to install replacement LED light that lasts more than 60,000 hours.
It is energy efficient and the convenient design allows you to light one or both the light independently.
3. Terrible Shaped Wiring
You find out that the wiring that is used is in terrible condition- damaged and frail, and that’s what’s causing the problem.
Solution
It can be dangerous to mess around with the wiring by yourself. Better, you get an electrician to work on that. Fresh new wiring could solve the problem. Ancor Marine Wire is a good one to replace with. It is 18 feet long and comes with added protection.
4. The On/Off Switch Working Sporadically
You see that flipping your light switch is not turning your RV lights on, then you flip it again, and after several attempts, it works. Every time you try to turn on the light, the same thing happens. It’s wasting time and making you feel irritated. So, you realize, it’s the switch that’s got the issue.
Solution:
This problem is something that you are unlikely to fix by yourself. Get an electrician to check it and replace the switch with a new one if needed.
The Wemo Light Switch is the best option that you should consider in this instance to replace your old one. It lasts much longer and you will hardly replace it again. It comes with a unique feature which is the timers and schedules. You can set a schedule of turning it by itself when the sunlight goes down.
5. The Light Ballast Being Faulty
The ballast of RV ceiling lights that you are using at your home may go bad at times. You may face this problem frequently if you are using a 12-volt light fixture. It’s painful when the voltage goes up and down by itself. And a faulty ballast may cause this issue.
Solution
You simply have to replace the ballast; you can’t repair it. Get a new one and consult with an electrician if you are dealing with a high voltage ballast. An electrician ensures that you are at no risk, and the new ballast works fine.
6. Tripped Circuit Breaker
You may face this problem when you are running a lot of electronics such as running your TV, freezer, and some other appliance, all at once.
Solution
All you need is to replace the circuit breaker with a new one. You can safely do it by yourself.
This may happen due to various reasons- i.e. overheating, GFCI failure, poor wiring, and so on. But if you want to know the precise reason why the circuit breaker is tripped, you should consult an electrician.
Tell your electrician to use a Square D circuit breaker. It lasts for a long time and comes with easy installation in case you want to install it yourself.
7. Tripped GFI
A common RV light problem involves your GFI when it is tripped. This GFI stops power leakage under 30 seconds and saves you from possible electric shocks at RV ceiling lights or other appliances. The RV ceiling lights might not work if this GFCI got tripped.
Solution
If you don’t have prior experiences I don’t recommend putting your life in danger trying to fix RV lights with a faulty GFCI. Therefore you should let the electrician take care of the matter.
If the problem exists despite the pros effort, the only option left is to remove the old GFI and get a new one.
A Tamper-resistant, energy-efficient Leviton SmartlockPro Slim GFCI would work best for me. It meets the current UL standard for automated ground fault response and uses a patented reset lockout mechanism to prevent reset when it isn’t wired or operated properly.
FAQ On Rv Ceiling Lights
1. Why Is My 12-Volt System Not Working?
There could be multiple reasons behind your RV 12-volt lights not working.
- The batteries could be dead due to not being changed for a long time. In that case, you will need to change the batteries.
- Another reason could be the battery connection being loose. You need to tighten the connection by calling an electrician.
- A tripped breaker could be another reason behind it. It mostly happens due to running other electronics such as- air conditioner and other at the same time. Try not to use too many electronics at once.
2. Why Won’t My Camper Lights Work?
It may happen because the lights got some issues or, the vehicle itself may have a problem.
Firstly, make sure that RV is plugged in before checking if your vehicle got any issues with power. If the RV is plugged in and yet not working, here’s what you can do-
- check if the converter is getting power from the power cord.
- check if the surge protector system is connected to the power cord.
- reset your vehicle’s breaker after unplugging the power source from the power pedestal.
- check if the batteries are out of date. If yes, replace them with brand new ones.
The Vmaxtanks battery offers excellent value that you can use for your vehicle to travel without any difficulty.
3. Will Camper Lights Work Without The Battery?
Yes, it will. It won’t cause any damage to your camper lights, and they will work fine just as it works with a battery.
However, if there is no power, that’s when you need the batteries to turn on the camper lights. So, it’s better to have them with batteries so that everything works fine.
4. How Do I Test My RV Lights?
To tell if your RV lights are bad or not, you need to test the RV converters. If your RV converter is bad, you will receive some warnings such as- the RV lights dimming for no reason.
It indicates that the RV converter that you are using is not a good one. Also, check GFCI and circuit breaker to test your RV lights.
5. How-To Wire Lights & Switches in a Camper Van?
Here’s how you can wire lights and switches in your camper van-
1. Purchase a good quality RV LED light
First and foremost, choose the right RV LED light to wire in a camper van. Why choose RV LED over any other, you ask? It’s because they are affordable, and you can quickly work with them. They don’t even need much power to light up and don’t get heated so you can touch when required.
Leisure LED RV camper light offers reliable performance. With its 60,000 hours of longevity, you won’t have to purchase any lights for long.
2. Cut light strips
You can do that with the regular scissors that you have on your desk. The strands that you will purchase may come with pre-marked cutline spots, just cut them with a regular scissor that you have.
3. Install the marine lights
To install those spring-clips recessed lights, cut a circular shape, and pop the LED light in it. Those spring clips will help to keep it in place. Leave some space for wires too.
4. Choose a 12-volt RV switch
It is a standard option for you. It has a simple installation process and it is easy to operate.
5. Wiring
First, you need to loosen the screws of the old switch and pull it out safely. You will see a pair of black and red wires connected to the positive and negative posts. Attach one red wire to the distribution block of the switch and the positive post.
Next, attach another red wire to the light (load) of the switch and the RV LED light. Attach the same RV LED light to a black wire that will connect it with the negative post.
When the switch is turned off, the red wire connected to the positive post will turn the light off. Conversely, when the switch is turned on, black wire attached to the light, and the negative post will turn the light on.
Following all the steps as mentioned, you can wire both lights and switches on your camper lights quite easily.
6. Other things to keep in mind
Before installing those pieces of equipment, you should test them first. Otherwise, it may result in failures. Refrain from using solid copper wire because that may cause several problems in the future.
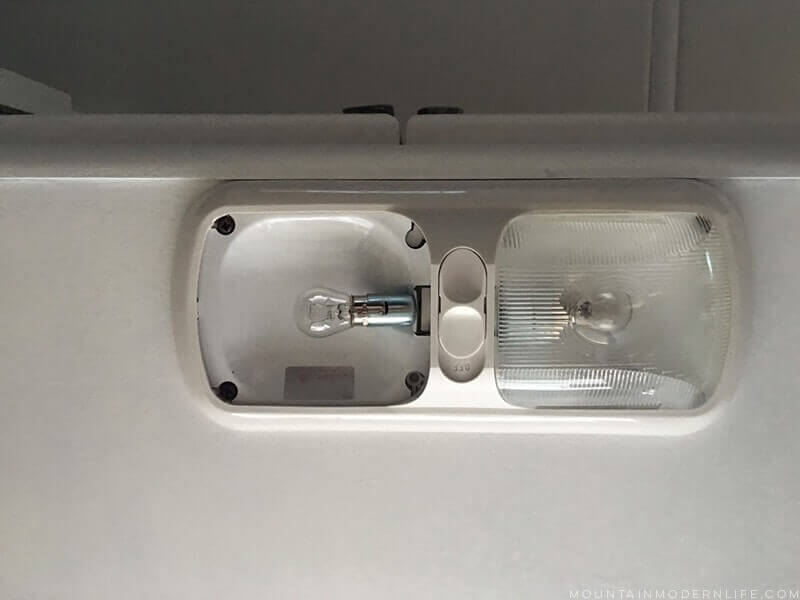
6. How do you remove ceiling lights from an RV?
It’s the simplest thing you can do. Just unscrew the glass over it and then pull the light from its place. No big deal!
Conclusion
If you have been with me till now, congratulations! Because you now know what to do when you face an RV ceiling lights not working situation. I hope my article has helped you with the basics of why RV lights could stop working suddenly and what you can do in a situation like this.